Using TEAMS for teaching and tutoring
14 09 2020
This workflow was written to help those wishing to use TEAMS for synchronous teaching, course management and discussion with students. It explains how to create a TEAM for your course and recruit students to the TEAM, record lectures and tutorials and then upload them to Media Hopper and embed inside LEARN for easy access.
- Create a TEAM for your course
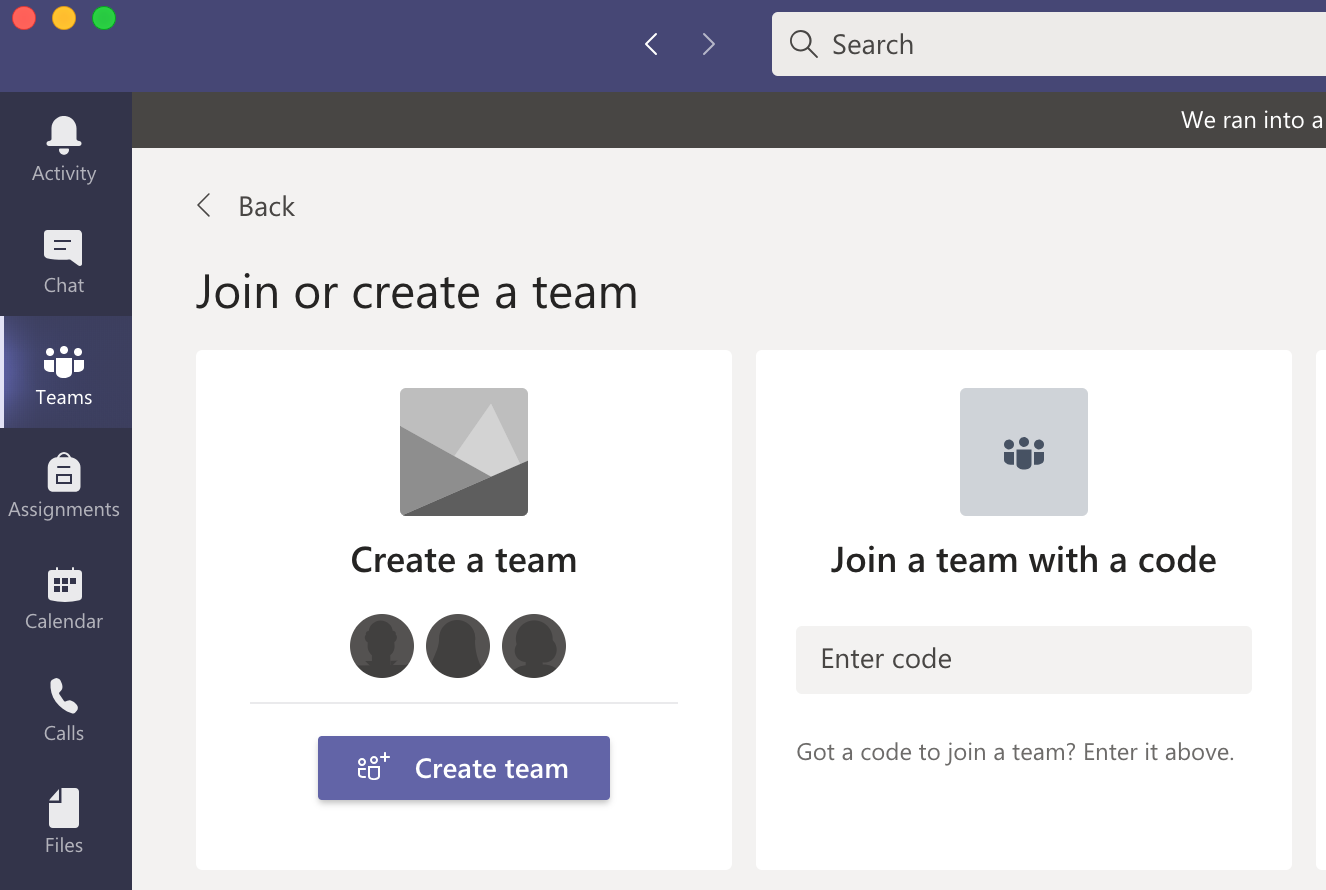
- Generate a code for people to join, explained here: https://support.microsoft.com/en-us/office/create-a-link-or-a-code-for-joining-a-team-11b0de3b-9288-4cb4-bc49-795e7028296f.
- Email your class (using a LEARN announcement) with the code and the following instructions
- Download and install Microsoft TEAMS
- https://www.microsoft.com/en-gb/microsoft-365/microsoft-teams/download-app
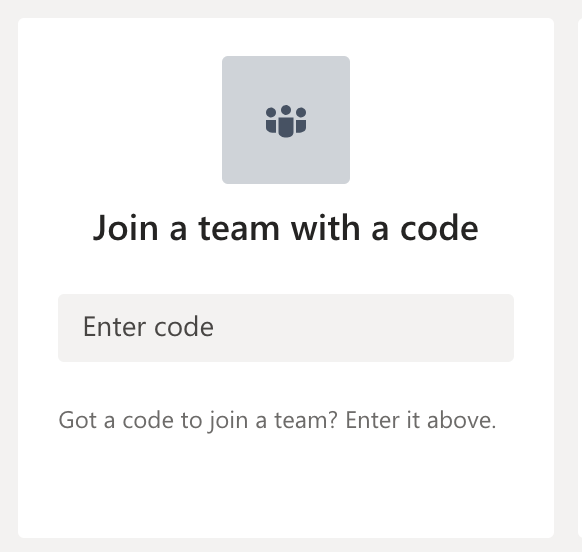
- open TEAMS and click Join TEAM
- paste in the code
Keep the code handy so that people who want to attend your first course session can join and see what the course is like, without having to sign up via their PT until they’re sure they want to take the course.
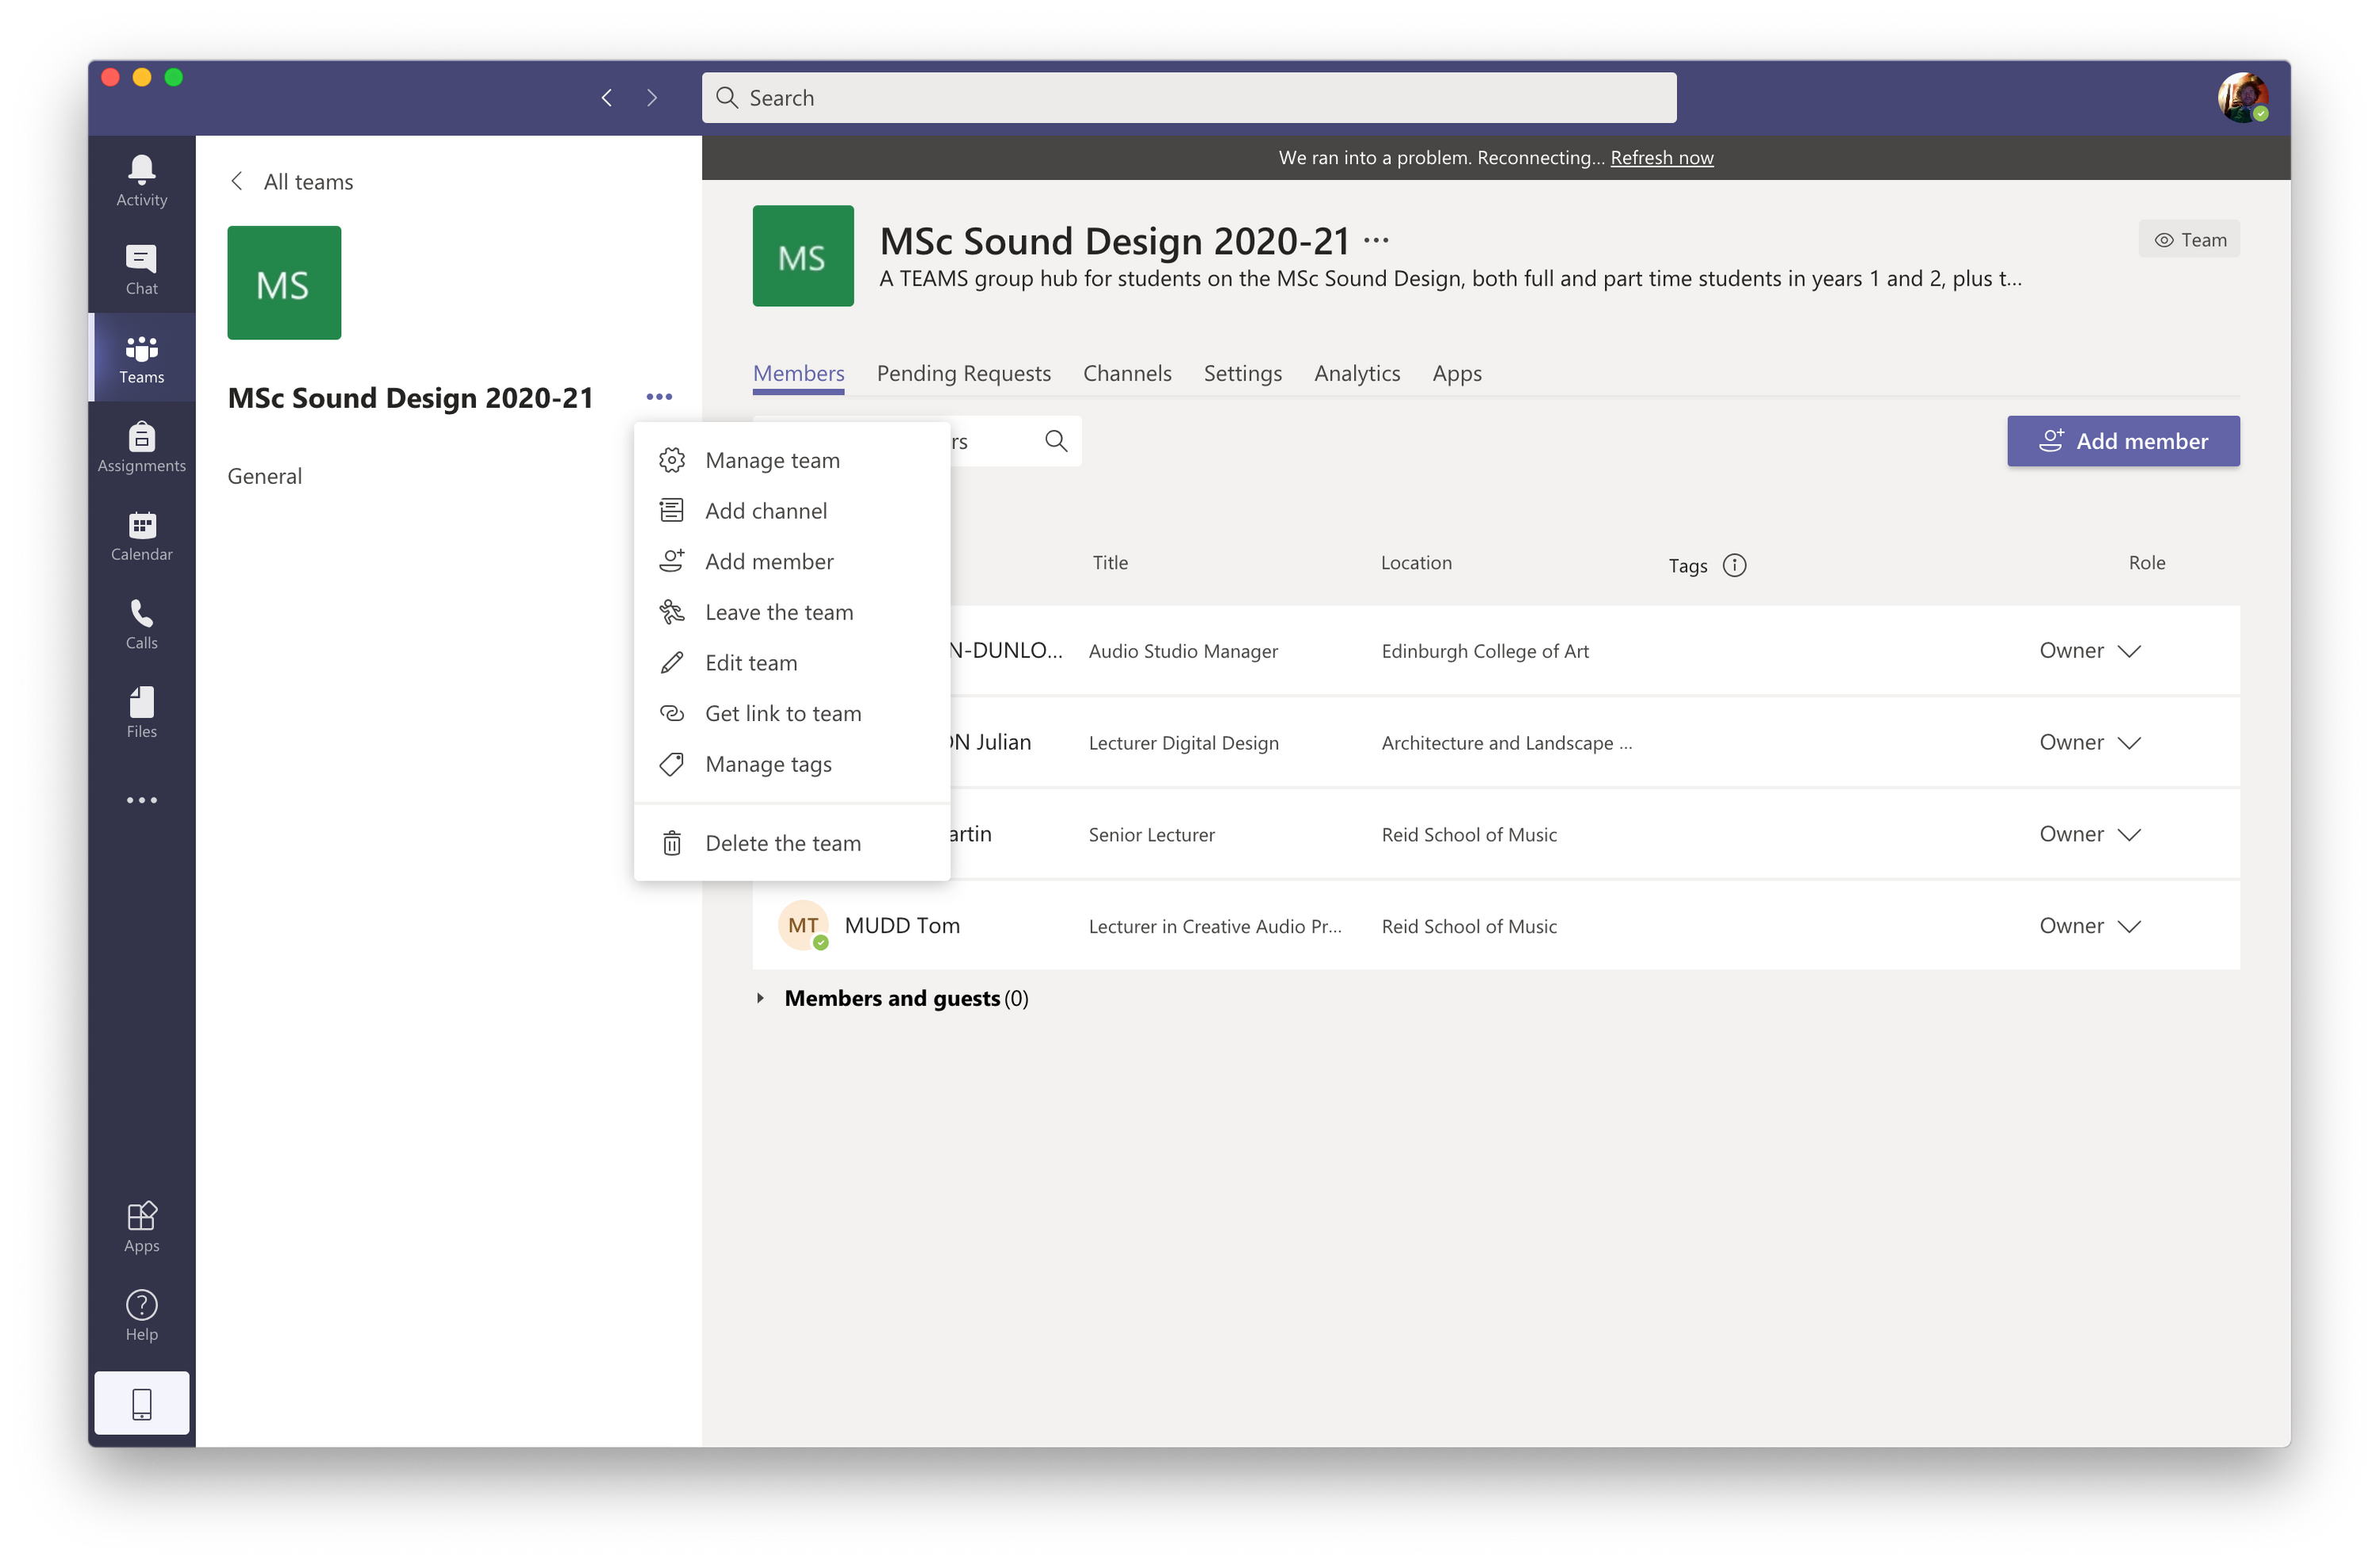
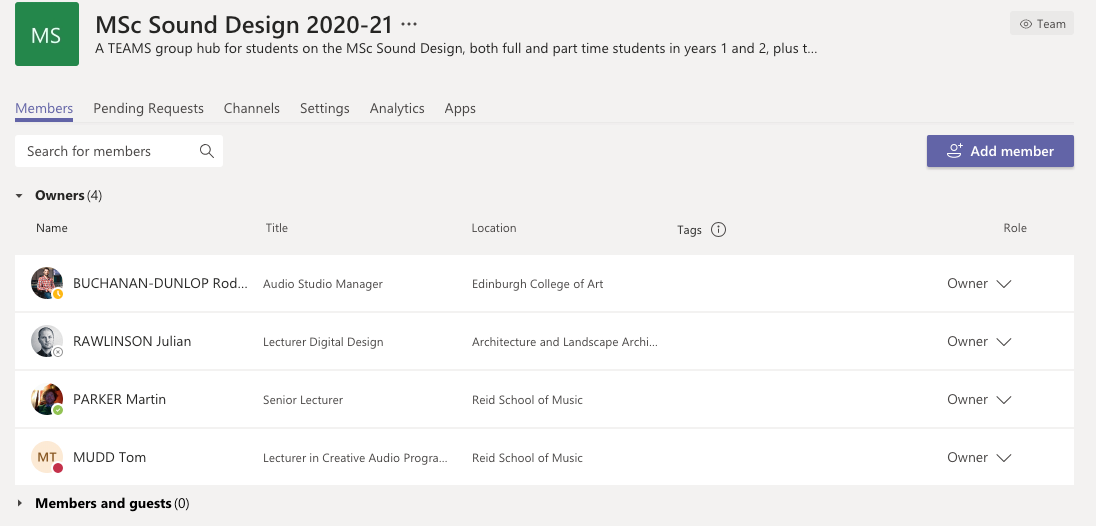
Ensure all tutors are also in the TEAM, they can join in the same way, share the join code. Ensure that the tutors are setup as
owners, rather thanmembers.
- You can use the Calendar function to setup classes at the time and date you want them to happen. Notice the 5th row down in the screen shot, we’ve set the TEAM channel we want to use for the meeting.
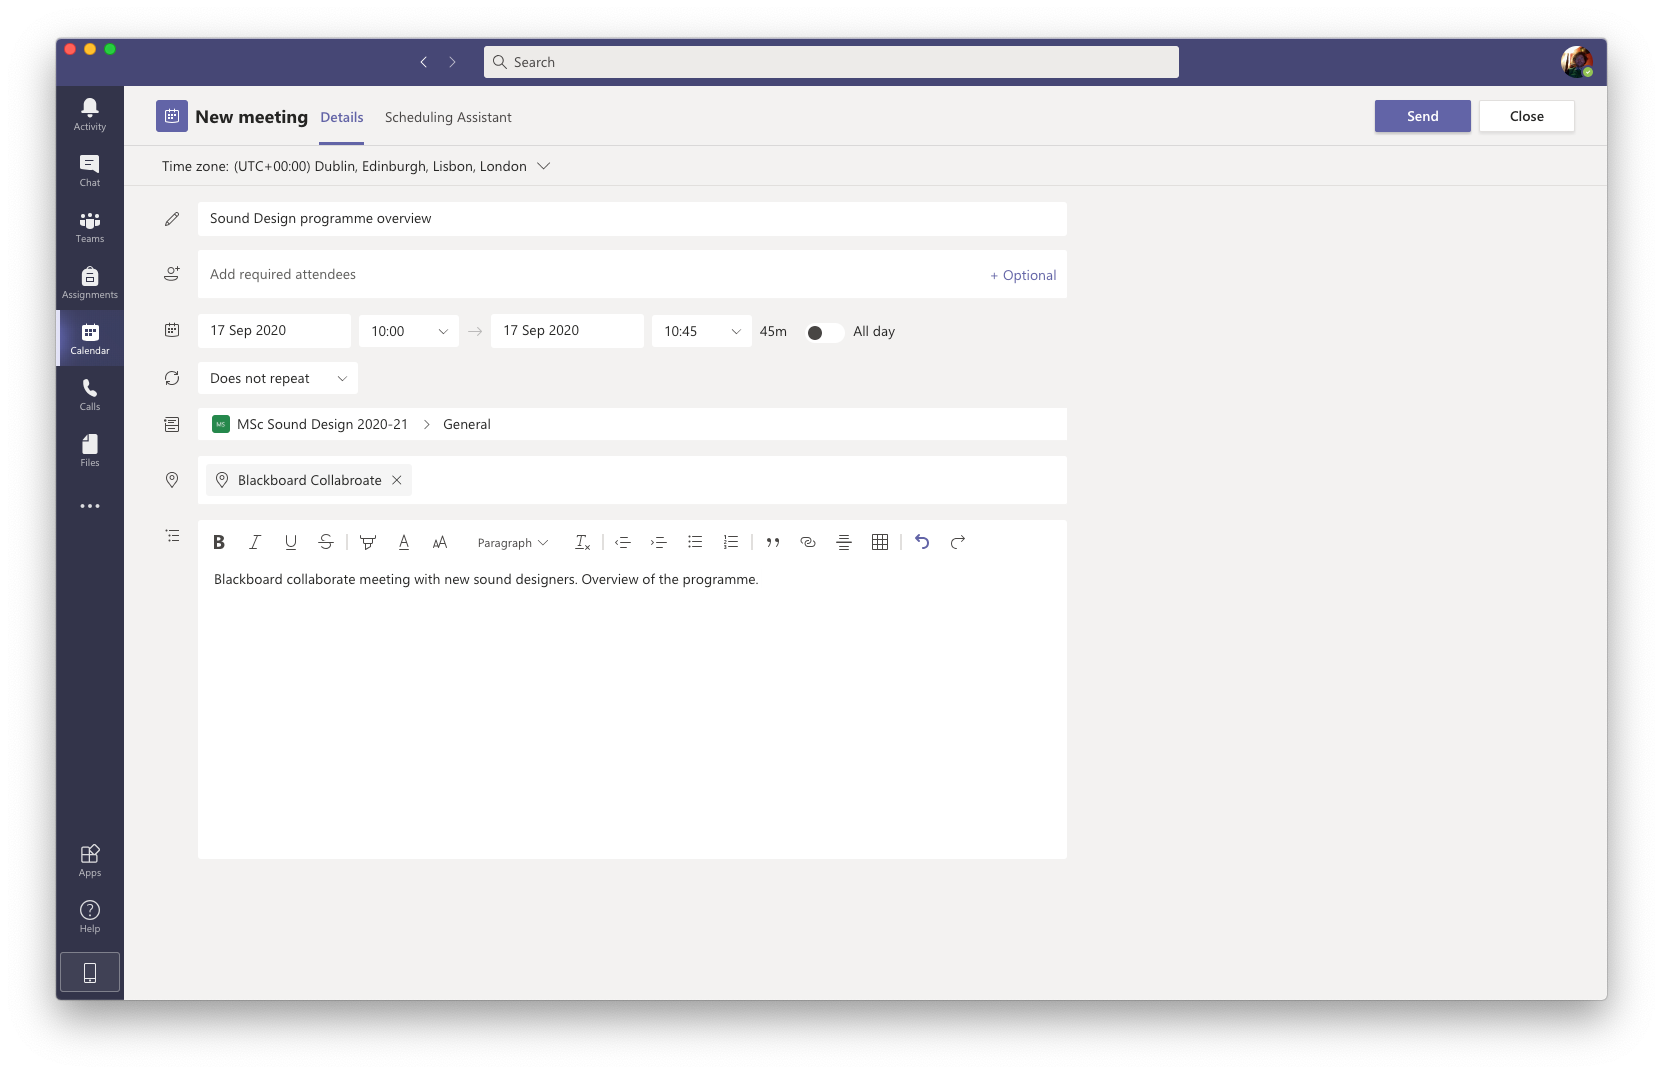
Start the class from the calendar by clicking Join.
Tell people you are recording the class, then start recording.
It’s explained where
- The live class can be auto captioned by TEAMS. Tell the students where to find this function, it’s explained where
When the class is finished, you can download the recording from the chat. Do this as soon as it is available to download as the recordings expire after 20 days and they aren’t captioned and not available in LEARN.
Upload the video recording to media hopper
https://media.ed.ac.uk/
Copy the link and add the link to your LEARN page for that particular week’s content. This way the film will be easily accessible to students and available for resits too. You don’t need to make the film public, unless you want it public, just select the sharable link.
- Request captioning of the film
This process is explained here: https://media.ed.ac.uk/media/0_e5w9ufj2 When the film has been captioned, you can edit the captions if you have the time, but this is a very low priority.